
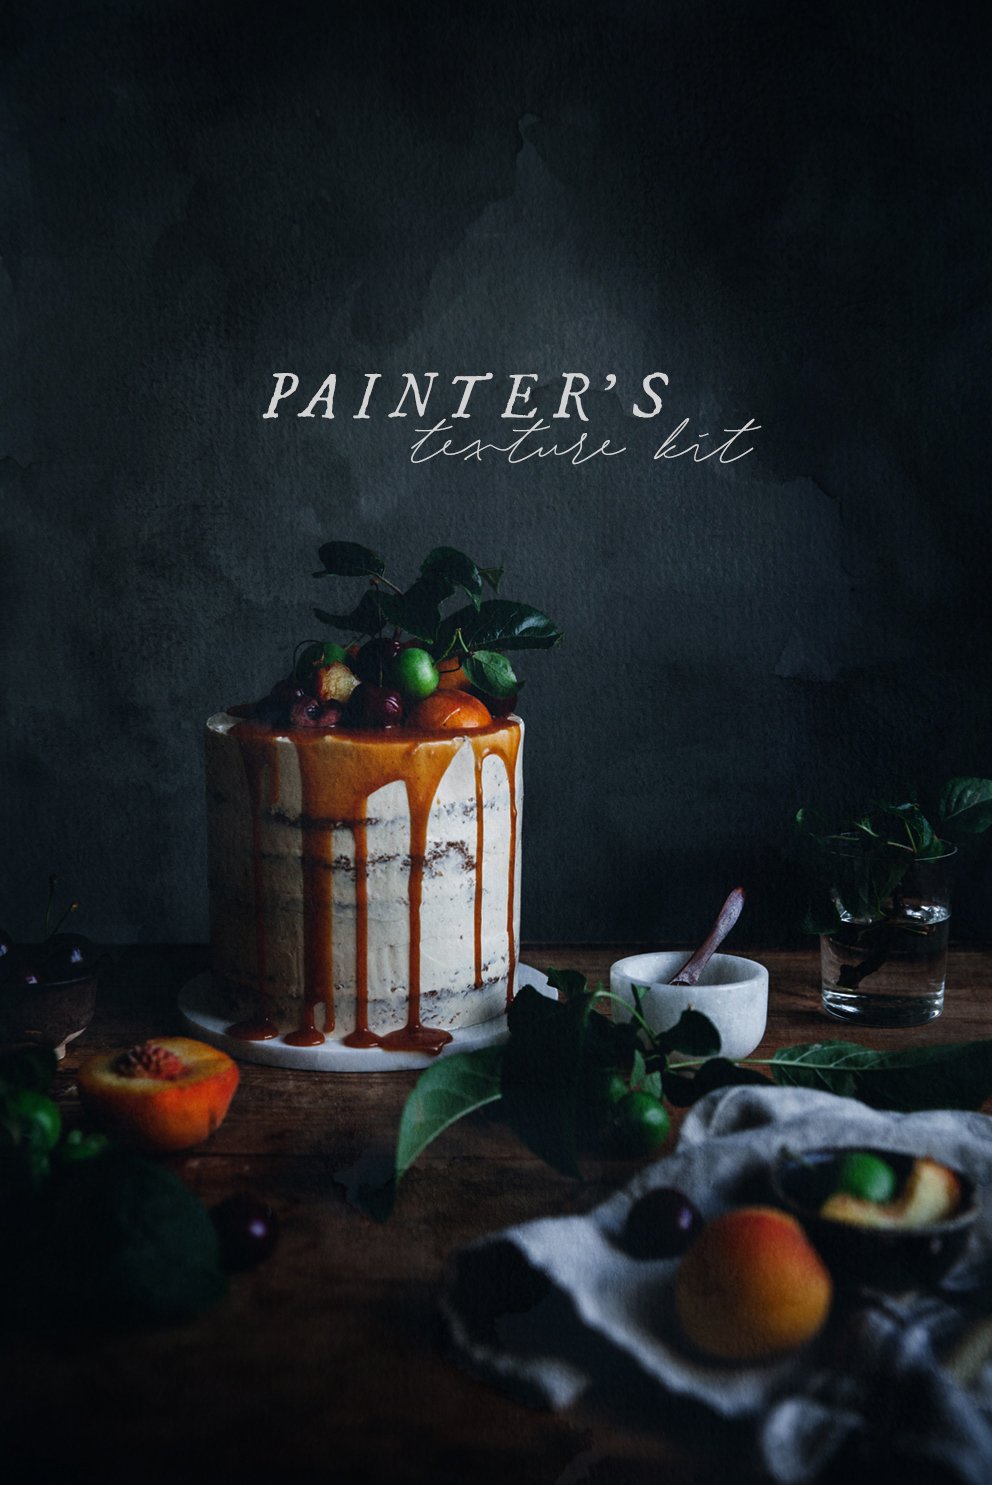
how to use textures
1. Open an edited photo and the texture in Photoshop (or another program where you can layer photos and adjust the blending mode).
2. Drag the texture over to the photo using the move tool (usually located at the very top of the tools panel). Make sure the texture is layered over the photo. Adjust the texture to fit the photo if needed, using the transform tool (command+T on Mac) while holding in the Function/fn key to get the right proportions.
3. In the ‘Layers’ panel, locate the blending modes, a drop down menu at the very top. Make sure the texture layer is marked, then start scrolling through the different blending modes to see which one suits your photo. I like to use multiply, darken, overlay and soft light the most - but it totally depends on the photo. Next to the blending modes is the opacity, which you can adjust depending on how strong you want the effect to be.
4. You can make the texture blend into your photo better by adding an adjustment layer, if you feel like it needs to be brighter, darker or change the color a bit. Sometimes I duplicate the texture layer and set each layer to a different blending mode and opacity to get another effect!
Scroll down for some examples on how to blend the textures (click the images to enlarge).


how to blend the textures (click the images to enlarge)


